Aligning with Fluorescence#
A dilute Rhodamine B solution is the standard alignment sample for the Raman optical assembly: if you cannot get a strong Rhodamine B signal, you will not be able to acquire a Raman signal from anything else.
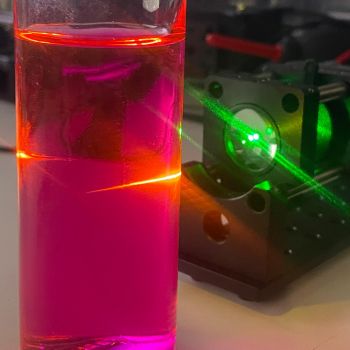
Oversaturated Rhodamine B solution excited with a laser. The bright orange path reveals the laser's beam path.
The fluorescent reference cuvette is used to:
- Visualise the laser – the beam path and focal point become clearly visible in orange.
- Verify the optics – confirms that objective, mirrors and coupling are aligned.
- Check the filters – the 532 nm line should be strongly suppressed while orange/red fluorescence passes.
Reminder
This uses the same printed cuvette holder as the Core-Assembly.
For alignment you do not need a calibrated standard: a faintly pink, transparent solution is enough. Concentration only needs to be roughly in the right range.
Parts and Materials#
Visit the complete Bill of Materials
Everything you will need, both printed parts and sourced parts, along with their cost and supplier, can be viewed in the dedicated BOM!
Sourced parts#
| Qty | Name | Model / Spec | Notes |
|---|---|---|---|
| 1x | Quartz Cuvette | Any | Same as Basic Raman Optical Assembly - Sample Assembly |
| 1x | Fluorescent dye | Rhodamine B (CAS: 81-88-9), 5g | Any strong fluorescent material with excitation at around the laser's wavelength (532 nm) |
| - | Pipette or syringe (1–5 mL) | ||
| - | Distilled / deionised water | ||
| - | PPE (gloves, goggles, lab coat) |
Printed parts#
| Qty | Part name (.stl) | Used in |
|---|---|---|
| 1x | Kuvettecase_Top |
Identical used: Sample Assembly |
| 1x | Kuvettecase_Bottom |
Identical used: Sample Assembly |
Preparation – Step-by-Step with Images#
Rhodamine B solutions slowly degrade and can adsorb onto container and cuvette walls. For alignment it is best to prepare a small batch fresh and use it over a few days (stored dark and cool).
If you own multiple cuvettes, designate one as the “fluorescence cuvette” to avoid trace contamination of later Raman samples.
Hazardous substance – permanent staining and eye damage
Rhodamine B can permanently and irreversibly stain skin, work surfaces and fabrics, and is harmful to eyes and mucous membranes.
- Read the SDS from your supplier before use.
- Always wear safety goggles and nitrile/latex gloves.
- Work on an easy-to-clean or disposable surface.
- Wipe spills immediately with damp disposable wipes.
- Wash hands and forearms thoroughly after handling, even when wearing gloves.
- Never touch eyes or contact lenses while working with the dye.
1. Make a rough stock solution (by eye)#
This is sufficient for almost all users and does not require a scale.
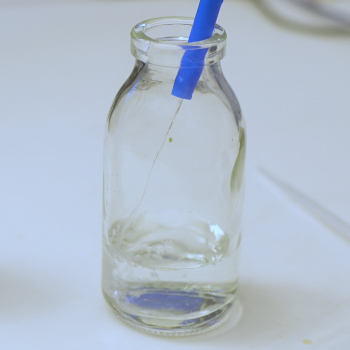
- Fill a small glass container with about 50 mL distilled water.
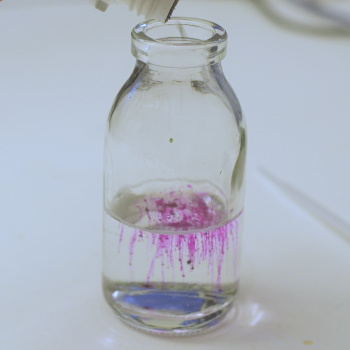
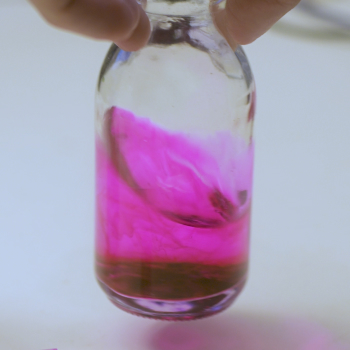
- Lightly tap a tiny amount of Rhodamine B powder into the water – you want just a trace of dust until faint pink streaks appear.
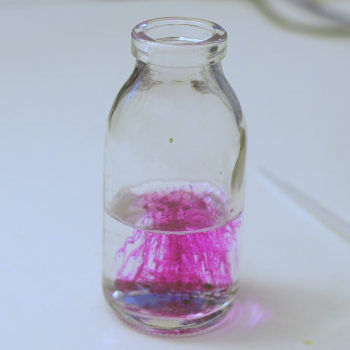
- Swirl gently until the dye is fully dissolved. Aim for a transparent light pink solution – not opaque or dark.
- If solid particles remain, add a bit more water and swirl again until the solution looks homogeneous.
This “pink stock” is roughly in the 0.1–1 mM range and will be diluted further.
Optional precise stock (1 mM)
- Weigh 4.8–5.0 mg Rhodamine B.
- Dissolve in 10 mL water in a volumetric flask or cylinder → 1 mM stock.
- A 1:100 dilution (0.1 mL stock + 9.9 mL water) gives a 10 µM working solution within the 5–20 µM range.
2. Dilute to working concentration#

Simple method (Single Container):
1. Pour off some of the solution and top up with fresh water.
2. Repeat until you reach the desired dilution.
Stock method (Two Containers):
1. Take a small volume of your stock (e.g. 1 mL).
2. Add it to 20–50 mL of clean water (≈ 1:20–1:50 dilution).
3. Gently mix.
Visual rule of thumb
- Cuvette glows bright orange → good range.
- Everything looks like an opaque orange block, focus disappears → too concentrated → add water.
- Barely any fluorescence → too dilute → add a little more stock solution.
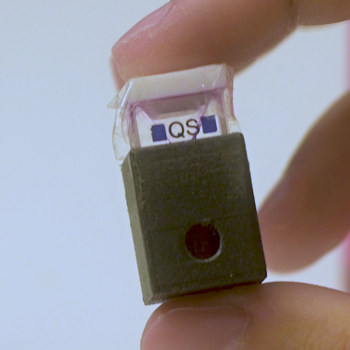
3. Fill the cuvette#
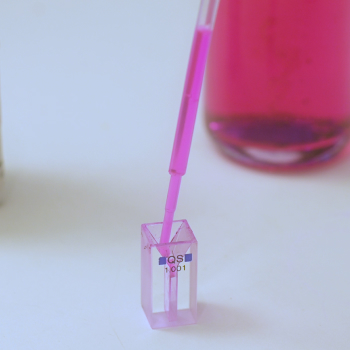
- Use a pipette/syringe to fill the cuvette with the working solution.
- Fill only as much as needed to cover the circular optical window in the printed holder (≈ ½–⅔ full).
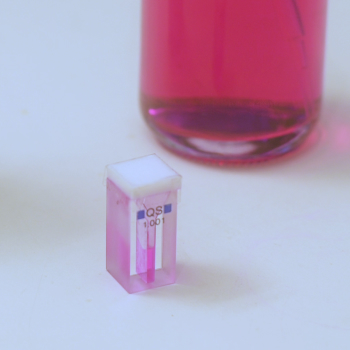
- If your cuvette has a cap, close it carefully to avoid drips.
4. Insert the cuvette into the printed holder#
- Slide the filled cuvette into
Kuvettecase_Bottom.
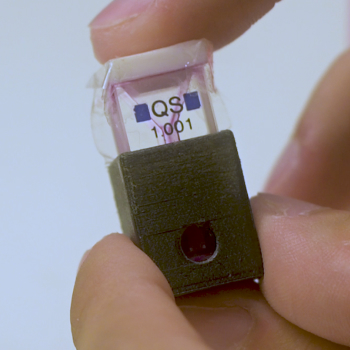
- Gently press it down so it sits fully against the reference surface in the printed base.
- If the cuvette has two clear faces, make sure they face the laser input and collection optics.
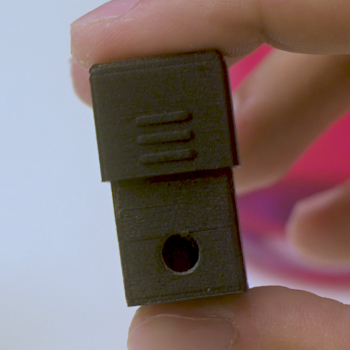
- Slide
Kuvettecase_Topover the base to secure the cuvette.
Keep upright
Always transport the assembled cuvette upright. Spilled Rhodamine B inside the optical assembly is difficult to remove and can permanently stain components.
Optional: How to use for Alignment#
Once the cuvette is mounted in the Sample Assembly:
- Place the cuvette holder at the objective focus (inside the cuvette, focusing its contents).
- Switch on the laser (at low power, if possible).
- From the side, verify a bright orange beam path and a clearly defined focus inside the cuvette.
- In the acquisition software you should see:
- A strong, broad fluorescence band at longer wavelengths (Stokes side).
- A heavily suppressed 532 nm laser line if longpass filters are correctly installed.
- Adjust mirror angles and focus until the fluorescence signal is strong and stable, aiming for the highest intensity value possible.
Quick troubleshooting
- No signal → beam misses the cuvette or hits the plastic holder.
- Strong laser line, weak fluorescence → check filter orientation and Rhodamine B concentration.
- Spectrum drifting / fading → reduce laser power or prepare a fresh solution.